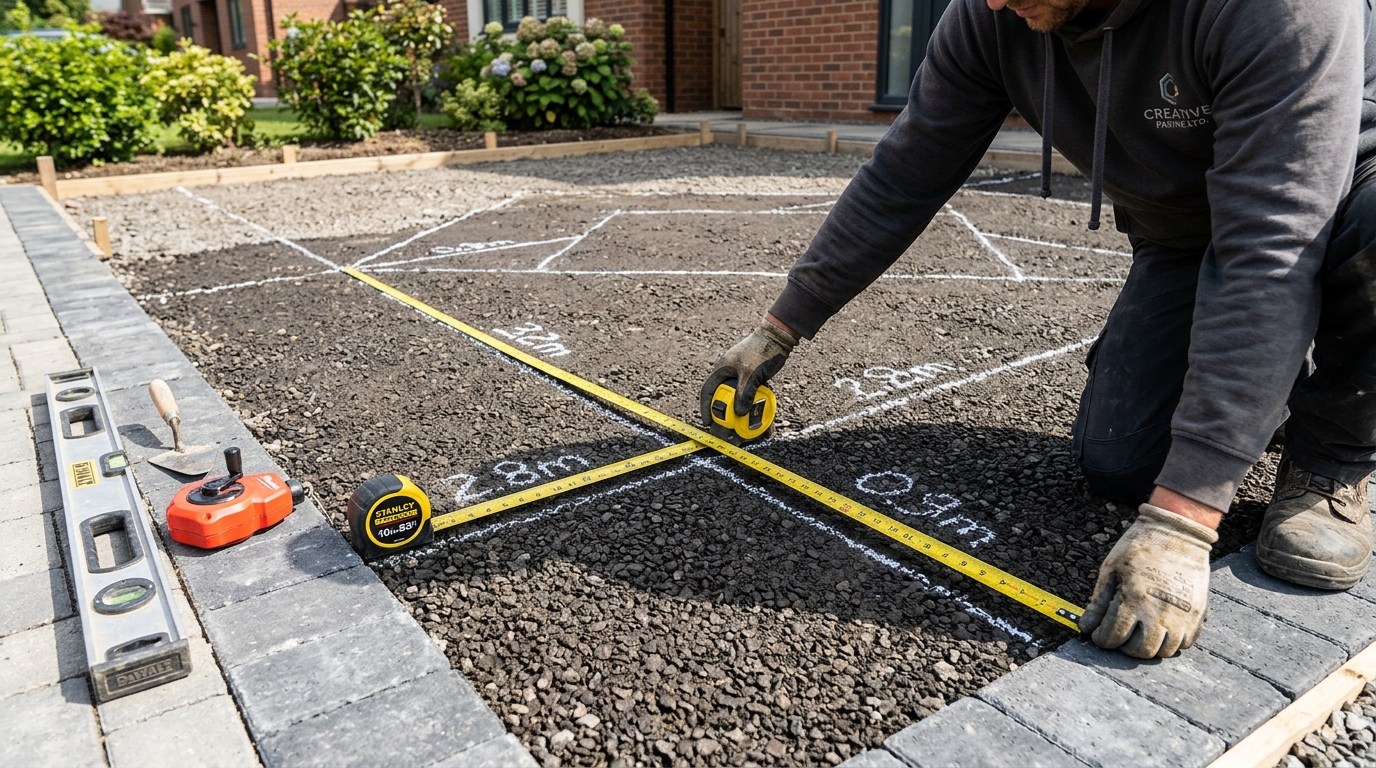
How To Measure Up For Block Paving
A practical guide to measuring block paving areas, breaking irregular driveways into simple shapes, and allowing for edges, cuts, waste, and sub-base planning.
How To Measure Up For Block Paving
Block paving can change the look of a driveway, path, or front garden quickly, but only if the planning is accurate. A rough guess might get you close on the overall area, but paving jobs are not just about area. They are also about edges, cuts, falls, curves, waste, and the real shape of the space.
That is why measuring up for block paving should be treated as a layout exercise, not just a single square-meter calculation.
What tape measure should you use?
For most domestic paving jobs, a pocket tape measure works for short spans, while a longer tape is better for wide driveways or garden runs. The key is to use a tool that lets you measure straight boundary lines cleanly.
If the site is irregular, it often helps to combine the tape measure with a rough sketch.
Step 1: Break the area into simple shapes
Do not try to measure an awkward driveway as one complex outline.
Instead, split it into shapes such as:
- rectangles
- squares
- triangles
- strips
This is the easiest way to make the math dependable.
For example, a front paving area may really be:
- one main rectangle for the driveway
- one narrow side strip
- one triangular corner near a gate
Once those are separated, the calculations become much easier.
Step 2: Measure each section clearly
For every section, record:
- length
- width
- any curve or angled edge notes
Label the sketch so you know which dimensions belong to which part. This matters because paving jobs often involve multiple similar-looking numbers.
Step 3: Calculate the total area
For rectangles and squares:
length x width = area
For triangles:
base x height / 2 = area
Then add the separate areas together to get the total paved surface.
This gives you the main block count starting point, but it is still not the final order quantity.
Step 4: Allow for cuts and waste
Block paving nearly always involves:
- perimeter cuts
- edge restraints
- pattern adjustments
- awkward corners
That means the exact measured area is not the same as the final amount of block you should order. The more edges, curves, and pattern interruptions the design has, the more important the extra allowance becomes.
Step 5: Check the laying pattern
Pattern affects waste.
Some layouts are more straightforward. Others create more offcuts, especially around:
- curved borders
- drain covers
- steps
- angled edges
A paving area with a clean rectangle and straight soldier-course edge is easier to plan than one with sweeping curves and multiple interruptions.
Step 6: Measure the perimeter too
Do not stop at square area. Many block paving jobs also need perimeter measurements for:
- edge restraints
- kerbs
- borders
- retaining edges
If you only calculate the paved area and forget the edging lengths, the material plan is incomplete.
Step 7: Think below the surface
A proper paving plan is not just about visible blocks. It may also require estimating:
- excavation area
- sub-base quantity
- sand bedding layer
- drainage or fall direction
You do not need to turn a simple tape-measure guide into an engineering manual, but you do need to remember that finished paving sits on a prepared system, not directly on raw ground.
Why curves and irregular boundaries matter so much
Many homeowners measure the longest width and longest length, multiply the two, and assume that is good enough.
That shortcut often overstates or understates the real job because:
- the space may taper
- planting beds may cut into the area
- a path may curve
- the front boundary may not run square
The more irregular the shape, the more useful the “split into simple shapes” method becomes.
Common mistakes
1. Measuring only the biggest rectangle
This ignores missing corners, curved edges, and planting cutouts.
2. Forgetting edging materials
Paving jobs often fail in the order stage because edge requirements were not measured separately.
3. Ignoring waste from cuts
Perimeter-heavy layouts always create more offcuts than a plain slab of paving.
4. Not sketching the site
A five-minute sketch can prevent a lot of confusion later.
Bottom line
To measure up for block paving properly, break the space into simple shapes, measure each one carefully, total the area, then add practical thinking about cuts, edges, waste, and the base system beneath the paving. The best paving measurement is not just a surface number. It is a layout plan that matches the real shape of the site.
Prefer an offline copy? Download this article as PDF .