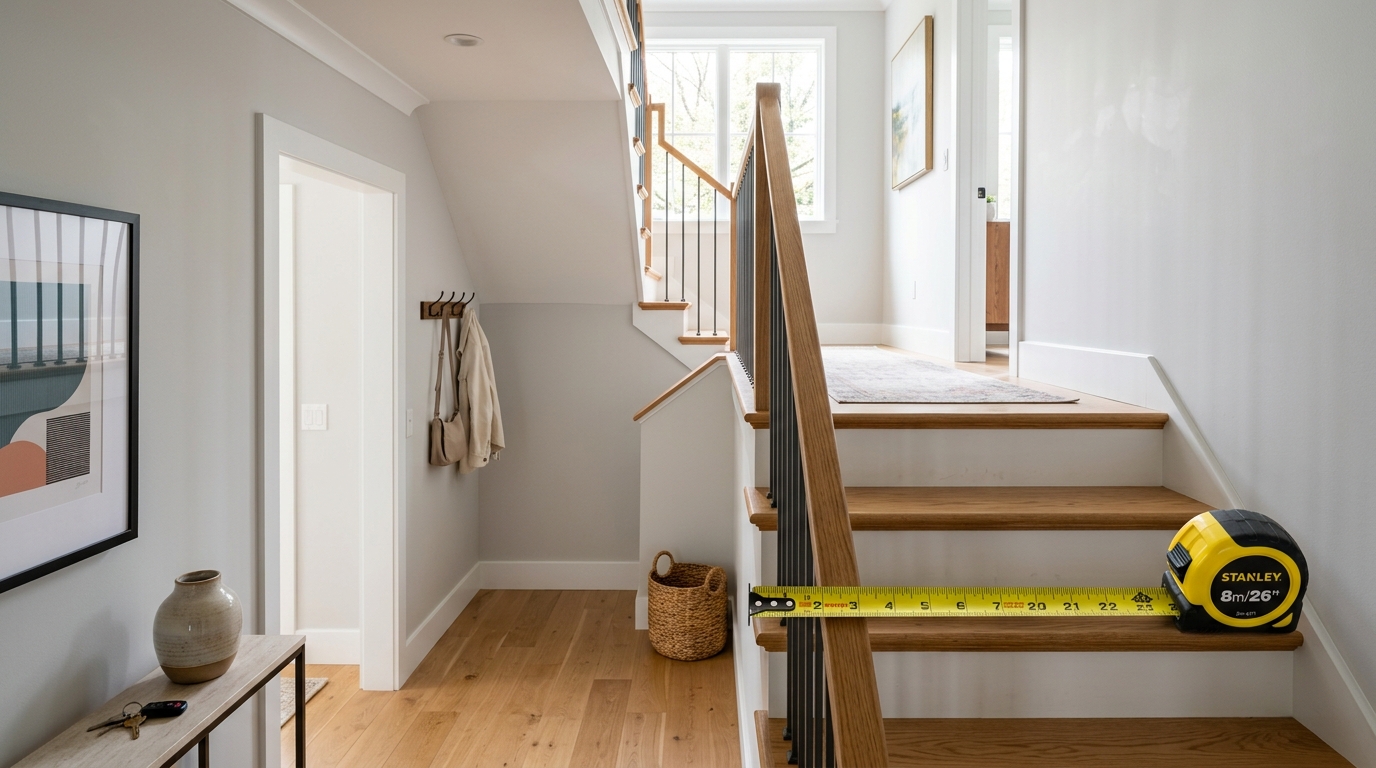
How To Measure The Hall, Stairs, And Landing For Flooring
A detailed guide to measuring tricky hall, stairs, and landing areas for carpet or flooring, including separate sections, stair counts, waste allowance, and why these jobs should never be estimated as one simple rectangle.
How To Measure The Hall, Stairs, And Landing For Flooring
Hall, stairs, and landing measurements intimidate people for a reason. Unlike a bedroom or square living room, this area is rarely one clean rectangle. It is usually a chain of connected spaces with turns, doors, awkward corners, and stairs that create both horizontal and vertical measuring problems.
That is why this part of the house should never be measured by guesswork or by standing in the hallway and deciding that it “looks about the same” as another room.
The best measuring mindset
Do not try to measure the whole area as one shape.
Measure it as a series of connected sections:
- hall
- landing
- each stair element
- any turns or winders
- closets or alcoves if they will be covered too
This is the simplest way to reduce mistakes.
What tape measure should you use?
Use a pocket tape measure for this job. A soft tape is too awkward for long straight hallway runs and stair geometry.
If possible, use a lockable tape with a clear metric scale. You will probably be moving between floor widths, stair depths, and vertical risers, so clean note-taking matters.
Step 1: Measure the hall separately
Measure the main hallway as its own area:
- width
- length
If the hallway narrows, turns, or opens into side zones, split those into separate rectangles rather than pretending the full space is uniform.
Step 2: Measure the landing separately
The landing also gets its own measurement set:
- maximum length
- maximum width
If the landing includes door recesses, balustrade interruptions, or awkward shapes, sketch the shape roughly and break it into smaller measurable parts.
Step 3: Measure the stairs
Stairs are where many flooring estimates go wrong because people count only the visible step surface.
You usually need to measure:
- the tread depth of each stair
- the riser height of each stair
- the stair width
- the number of stairs
For straight stairs, a common workflow is:
- measure one tread depth
- measure one riser height
- add them together
- multiply by the number of stairs
- combine with the stair width to estimate total material
If the stairs vary in shape or include winders, measure each unusual step separately.
Step 4: Check for nosing and wraps
Some flooring installations wrap differently around the stair nose, and some carpet fits need additional allowance for the front edge of each step.
That means the measurement needed for the install can be slightly more than just a clean tread-plus-riser math line. If the installer or supplier uses a specific fitting method, measure with that in mind rather than assuming every stair is a flat L-shape only.
Step 5: Account for awkward sections
Hall, stairs, and landing areas often include:
- radiator pipe cutouts
- under-stair corners
- angled walls
- door bars and thresholds
- winding or pie-shaped steps
Do not leave these to memory. Write them down as separate notes. The job becomes manageable when every awkward piece is treated as a smaller measuring problem.
Why waste allowance matters more here than in square rooms
Rectangular rooms are relatively efficient for flooring and carpet planning. Hall, stairs, and landing areas are not.
You often need extra material for:
- turns
- pattern alignment
- step fitting
- awkward cuts
- offcuts that cannot be reused efficiently
So even if the raw area math looks modest, the real order quantity often needs more breathing room than a simple room measurement would.
A practical note-taking method
A good way to measure this area is to draw a rough sketch and label each section:
Hall ALanding BStair flight CWinder D
Then write each width and length directly onto the sketch. This reduces the chance of mixing up which number belongs to which zone later when you are speaking to a supplier or ordering online.
Common mistakes
1. Measuring only the floor plane
With stairs, the vertical riser matters just as much as the horizontal tread.
2. Treating the whole zone as one rectangle
That usually creates either under-ordering or messy assumptions.
3. Forgetting awkward edges and winders
Special shapes usually increase waste and fitting complexity.
4. Writing numbers down without labels
Hall, stairs, and landing jobs often fail at the note stage, not the measuring stage.
Bottom line
To measure hall, stairs, and landing areas for flooring, break the job into separate parts and record each one clearly. Measure hall and landing zones independently, then measure tread depth, riser height, width, and stair count for the stairs. The less you rely on one big guess, the more accurate and stress-free the flooring order becomes.
Prefer an offline copy? Download this article as PDF .