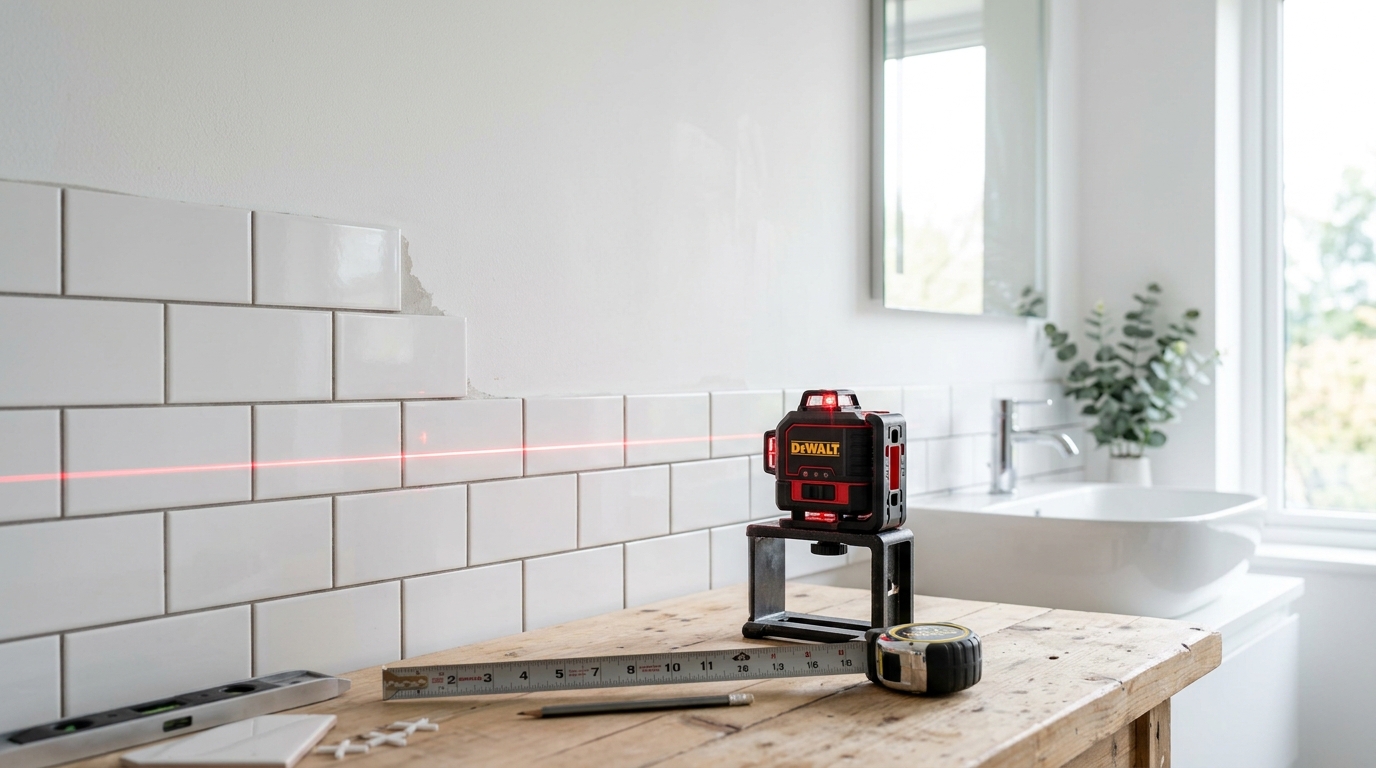
How To Measure For And Fit Wall Tiles
A modern guide to measuring wall tile areas, allowing for cuts and wastage, checking level lines, and planning a cleaner tile layout before you start fixing tiles.
How To Measure For And Fit Wall Tiles
Wall tiling is one of those jobs where the measuring stage quietly decides whether the finished wall looks clean or amateur. Many DIY users focus on adhesive, grout color, or tile style first. In practice, layout and measurement usually make the bigger difference.
If you measure badly, you often end up with:
- tiny sliver cuts in visible corners
- uneven tile rows
- too little material ordered
- wasted time correcting layout after adhesive is open
That is why the tile job starts with measurement, not with sticking the first tile to the wall.
What tools are best for measuring wall tiles?
For the planning stage, the core tools are:
- a pocket tape measure
- a spirit level or laser level
- a straightedge
- something to mark reference lines
The tape measure gives you the wall size. The level tells you whether your assumed starting line is actually trustworthy.
Step 1: Measure the wall area
Measure the full:
- width
- height
If the wall includes doors, windows, or large permanent openings, measure those separately too.
The basic area formula is:
wall width x wall height = total area
Then subtract major openings if you want a more refined material estimate. For many small splashbacks, some people keep the math simple and just include the whole wall, especially if they already plan to allow for cuts and wastage.
Step 2: Work in one unit system
Do not mix:
- wall width in millimeters
- tile size in centimeters
- cut notes in inches
Tile jobs become messy when unit systems drift. If possible, keep the whole layout plan in millimeters. That makes spacing, grout joints, and cut planning easier to track.
Step 3: Include grout joints in the layout
One of the classic beginner mistakes is to divide the wall width by the tile width and assume that gives the final layout.
It does not, because the finished surface includes:
- tile width
- grout joint width
Even small joints accumulate across a row. If you ignore them, the layout can walk off center by the time you reach the edge.
Step 4: Dry-plan the tile layout before fitting
This is where a 2026 version should be better than an old short article. Measuring for tiles is not just counting square meters. It is planning where the cuts land.
Before fitting:
- find the visual center of the area
- map how many full tiles fit across
- check what size the edge cuts become
- shift the start point if the end cuts would be too narrow
The goal is usually to avoid skinny edge pieces, especially in highly visible areas.
Step 5: Check if the wall is actually level and straight
Do not assume the counter, ceiling, or floor gives you a reliable starting line.
Use a spirit level or laser to check:
- horizontal lines
- vertical reference points
- corners that may be out of square
Many tile jobs go wrong because the installer follows an existing edge that only looks level. Then every row carries the error upward.
Step 6: Allow for cuts, breakage, and future repairs
Never order only the exact tile area.
A practical tile order usually includes extra material for:
- cuts around edges and outlets
- breakage during installation
- pattern matching
- a few spare tiles for future repairs
The exact allowance varies by tile size, layout, and room complexity, but the principle is simple: a perfect wall-area calculation is still not a complete buying quantity.
Step 7: Measure around features separately
If you are tiling around:
- sockets
- extractor points
- switch plates
- corners
- window returns
measure those interruptions separately. Complex areas create more cuts than a plain wall and usually raise waste.
Fitting guidance that follows from good measuring
Once the measurements are solid, the fitting process becomes more controlled:
- set a level starting line
- dry-lay key rows first if needed
- begin where the layout gives balanced cuts
- keep checking alignment as you move
A well-measured wall tile job often looks “professional” not because the cuts disappeared, but because the cuts look intentional and balanced.
Common mistakes
1. Starting from one corner without planning the far edge
This often produces an ugly thin tile strip at the opposite side.
2. Ignoring grout joints
Small joints add up quickly across a row.
3. Trusting an uneven countertop or ceiling line
Visual references are not always level references.
4. Ordering exact area only
A tiling job always needs some allowance beyond pure wall area.
Bottom line
To measure for wall tiles properly, start with the wall area, then move beyond area into layout. Include grout joints, check level lines, plan cut positions, and allow for waste. Measuring for tiles is really about controlling the finished visual rhythm of the wall, not just calculating how many boxes to buy.
Prefer an offline copy? Download this article as PDF .